Photographed and written by
John M. Young
I have a love for two groups of Dr Grabow pipes; the old Linkman’s and the Westbrook line. The Linkmans were produced from 1932-1953 while the Westbrooks were from 1957-88. The linkmans I have are mainly pre-World War Two (WWII) pipes while the Westbrooks are more undetermined ages. I guess I should slow down and clarify this a bit. “BACK IN 1898, two ambitious young men reached the momentous decision to go into business for themselves. They were Louis B. Linkman and August Fisher. From the time they were in knee pants they had worked for a pipe jobber in the mid-west.” (https://pipedia.org/wiki/M._Linkman_%26_Co.). These two young entrepreneurs were joined by a third, “Anton Burger, who had also been employed by a pipe jobber in the mid-west, approached them and was taken in as a partner. M. Linkman & Company proceeded as a partnership; the business developed rapidly through the untiring efforts of these men in producing quality pipes and rendering good service to their customers.” (https://pipedia.org/wiki/M._Linkman_%26_Co.). The company eventually
came to be known as Dr Grabow.
History:
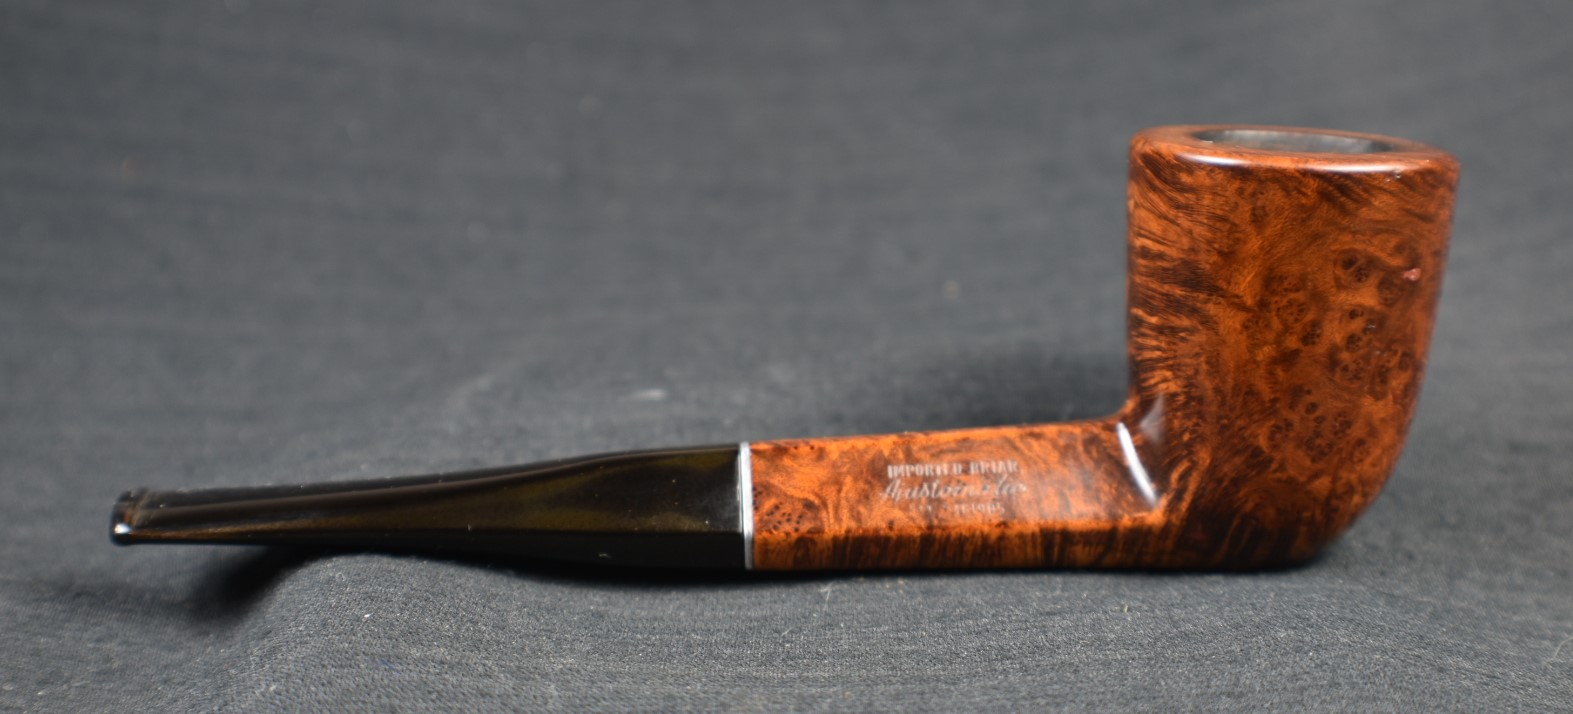
The subject of this blog has a left stamp reading WESTBROOK over DR GRABOW. I believe to be an earlier sample due to the stamping of the right side: IMPORTED BRIAR over Ajustomatic over PAT. 2461905. According to pipedia.org, “1949, February 15th. David P. Lavietes gets patent for AJUSTOMATIC stem to shank threading system, Patent #2461905” (https://pipedia.org/wiki/Dr._Grabow_Pipe_History_Timeline).
So you ask, “Why is a patent from a Mr. Lavietes important to a Dr Grabow pipe?” I reply, , “Good question.” Before I answer that question let’s go back to 1952-53. 1952 Linkman (82 years old?) retires as president of M. Linkman & Co., or maybe in 1953-54?” (https://pipedia.org/wiki/Dr._Grabow_Pipe_History_Timeline). As The founder of Dr Grabow was looking to retire he sold the company to Henry Leonard and Thomas (HL&T). HL&T held the patent for the “Adustomatic” filed by Mr. David Lavietes. Now, you see the connection. In 1955, HL&T started manufacturing the Westbrook line. They stamped the new line with a famous patent number giving additional merit to the new line.
I do not think that pipes produced a few years after this would still be marketed as having this “new” feature. Yes, it is conjecture but it makes sense from a marketing perspective.
“Henry Leonard & Thomas, Inc. (HLT) was founded in Ozone Park, Queens, New York by Henry J. Lavietes and two partners on May 31, 1938. The company patented a stem design for pipes and cigarette holders designed by Henry on March 9, 1943. Henry was the son of David Lavietes, who moved to Sparta, North Carolina in the early 1940s to purchase laurel and rhododendron burl to ship back to his son and HLT. Lavietes decided to stay in Sparta and founded the D&P Pipe Works with his other son Paul, originally as a 15 person operation. David Lavietes was the inventor of the Ajustomatic feature incorporated into Dr. Grabow pipes even today.
In 1953, HLT acquired all assets and equipment of the Dr. Grabow company of Chicago, Illinois, and began production of Grabow and Hollycourt pipes. At the same time, they acquired the Continental Briar Company, owner of the Royal Duke, Duke of Dundee, and Honeydew pipe brands still evident in the common use of the word “Duke” to name Grabow pipes.” (Henry Leonard & Thomas Inc. – Pipedia)
Another interesting feature of the Westbrook line is that they were only available as “coupon” pipes, meaning that they were not sold at normal retailers. They were only available as promotional items via tobacco purchases.
“Westbrook was one of several pipes (Berwyck, Belvedere, Emperor, and Sculptura) that were made by Grabow and distributed by R. J. Reynolds as coupon pipes. A coupon was placed into bags of Carter Hall and George Washington tobacco that was redeemable for these Grabow pipes. Westbrook was about 5 coupons and $3.00 for part of its life. This offer started in the mid-50’s and ended in the late 80’s. It was the longest running redemption offer in history” (https://www.timetoast.com/timelines/dr-grabow).
This now places the production of the Westbrook Dr Grabow Dublin to North Carolina in the late 1950s. Now to find an official name for the pipe. I found a 1970 catalog and screenshot the below image. This lists the name as a Triangle Dublin

The Restoration:
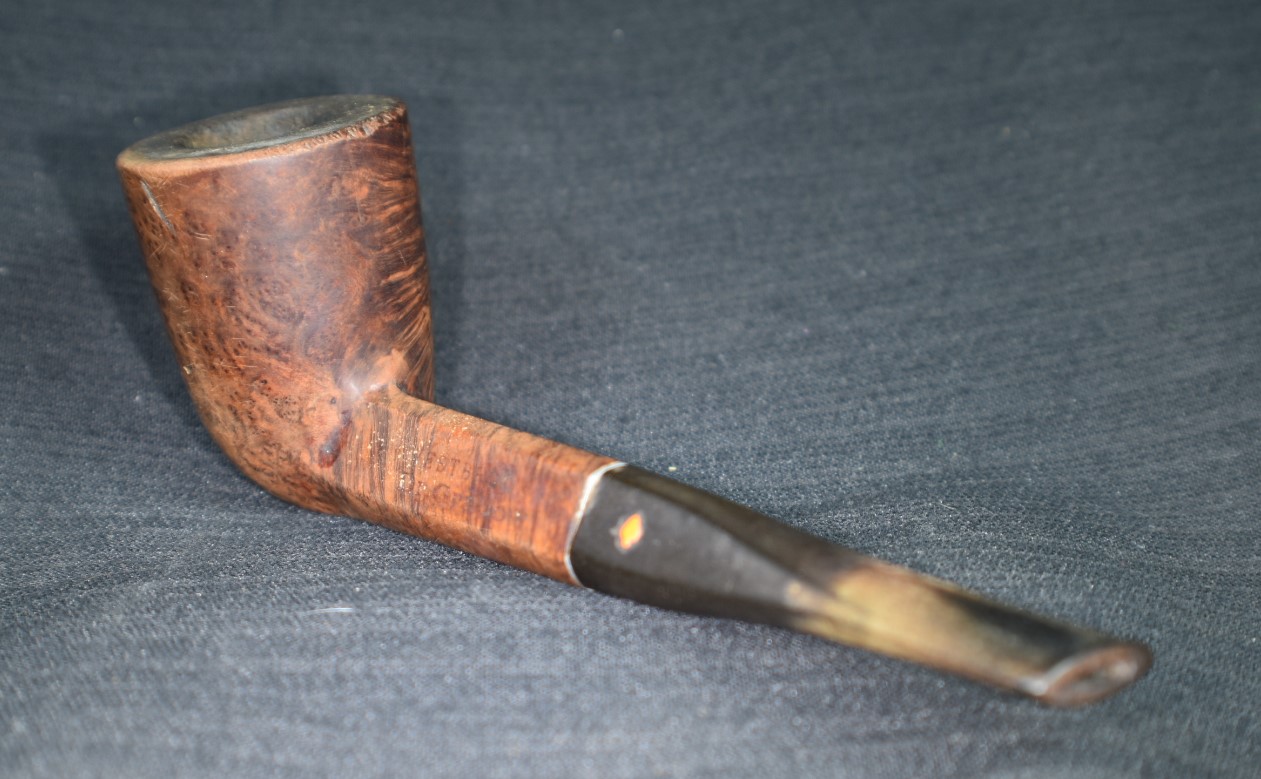
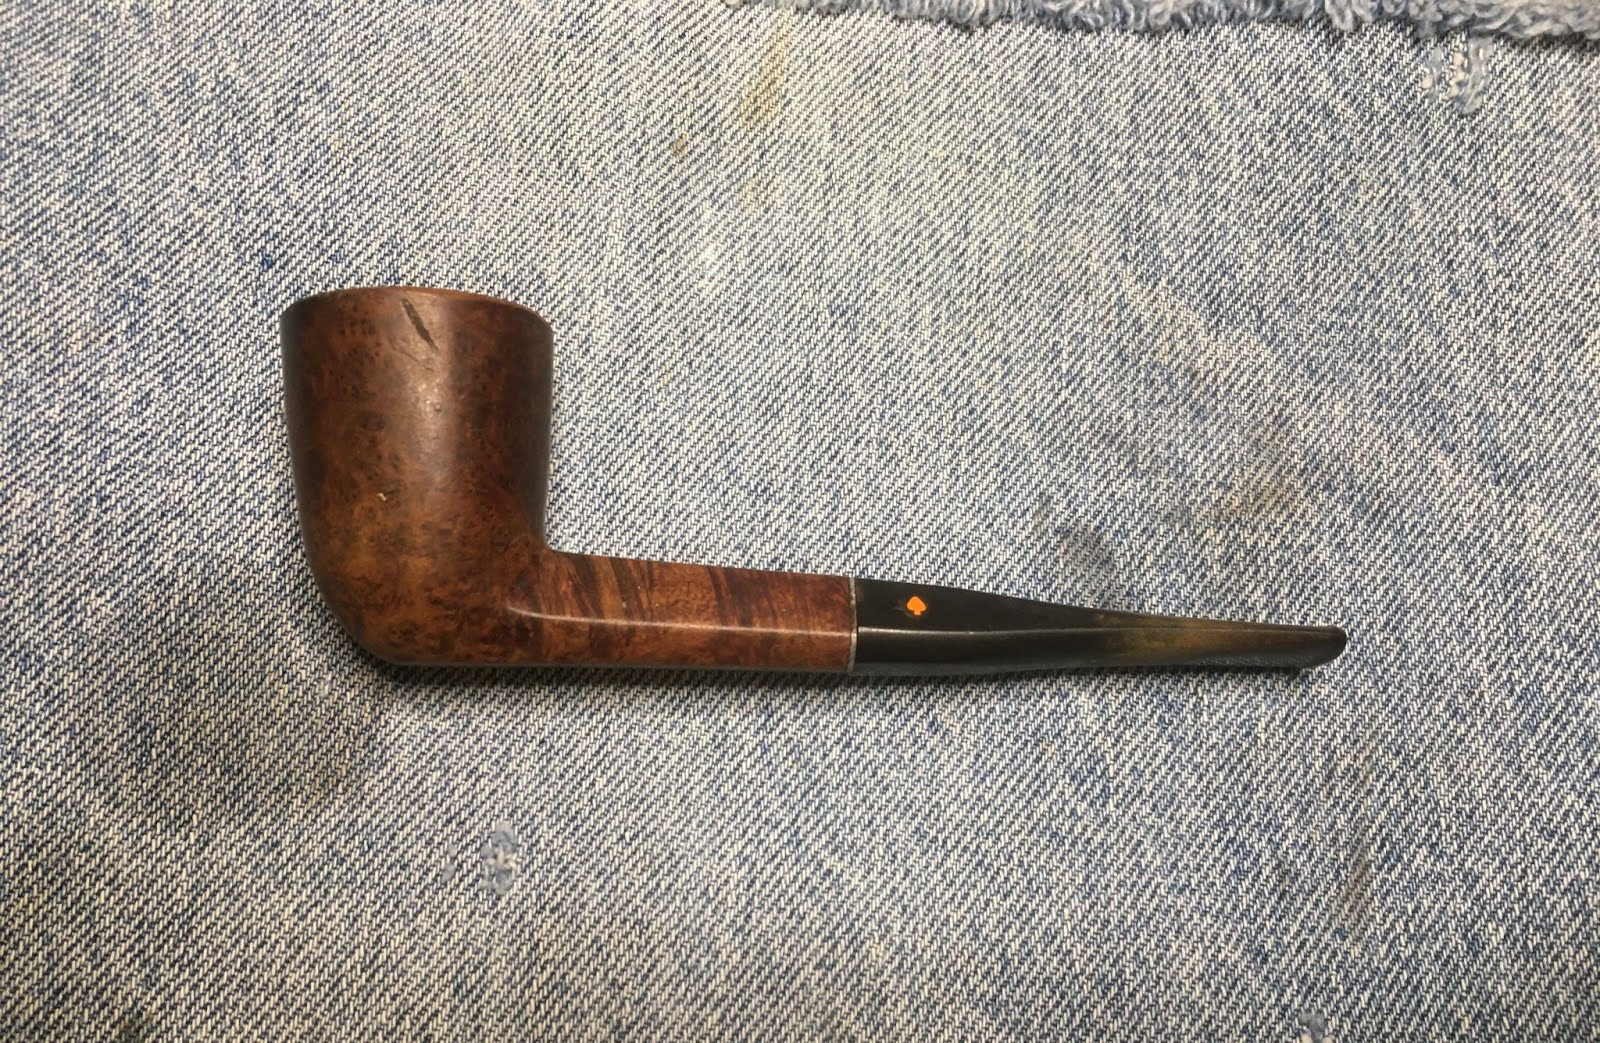
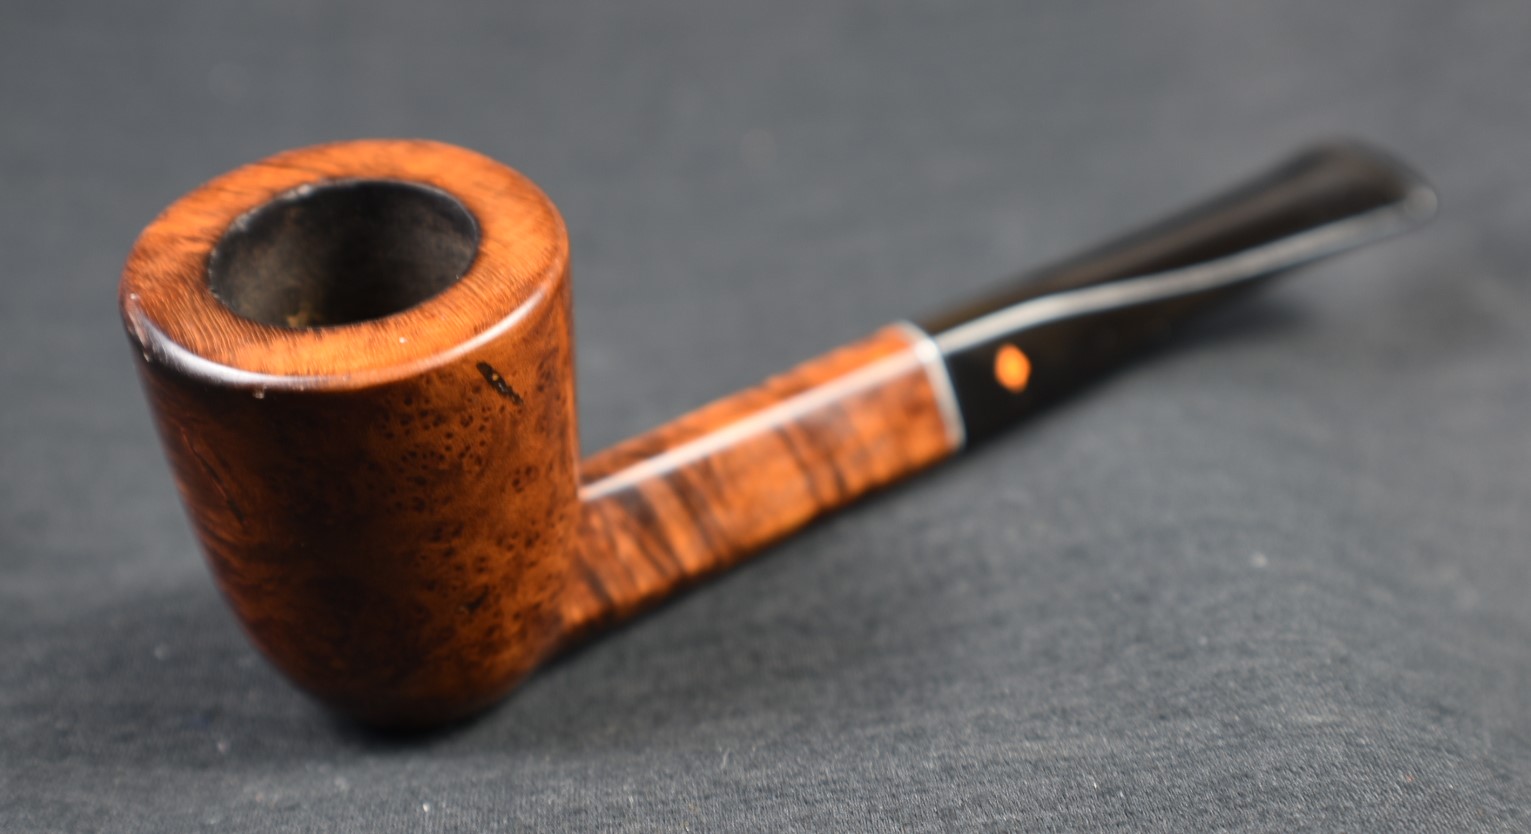
Here is what the Westbrook Triangle Dublin looked like prior to having any work done.


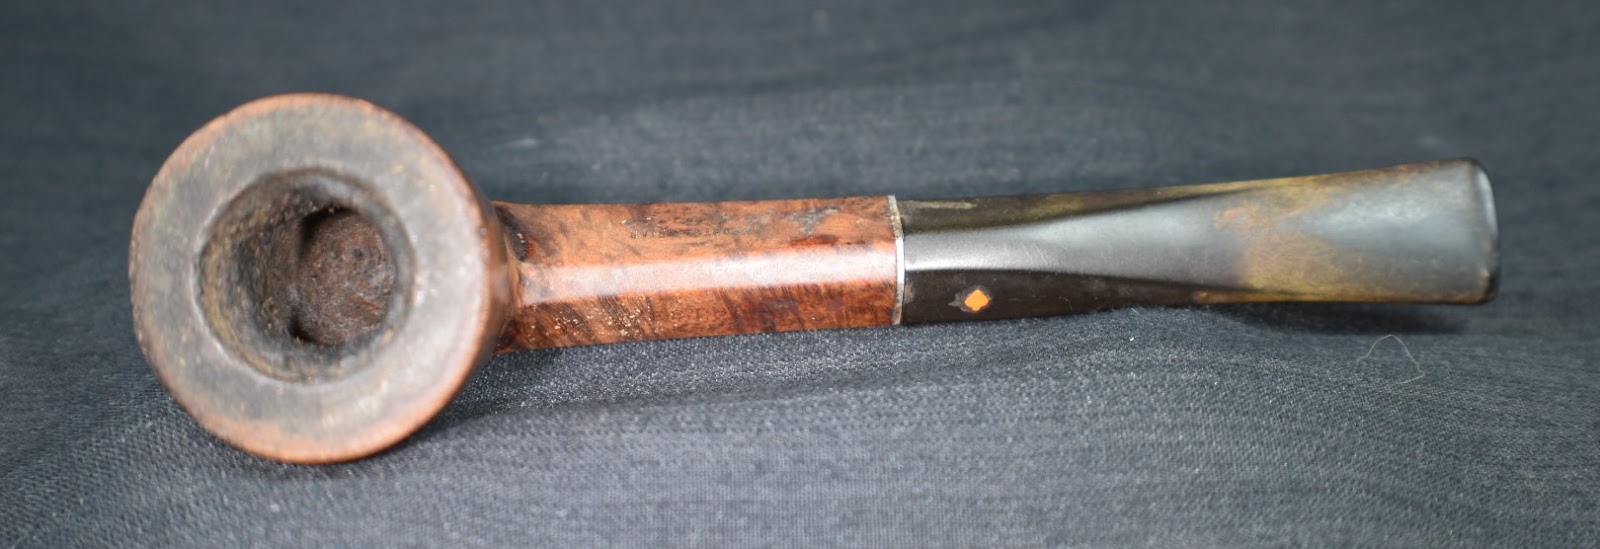


Yep, it’s an old dirty beat-up pipe. The list of things to do was a long one. It could be summarized as cleaning inside and out, sanding, refinishing and polishing. That would exclude nearly all nuances but it does describe the process in general terms. Of course, I will go into more detail below.
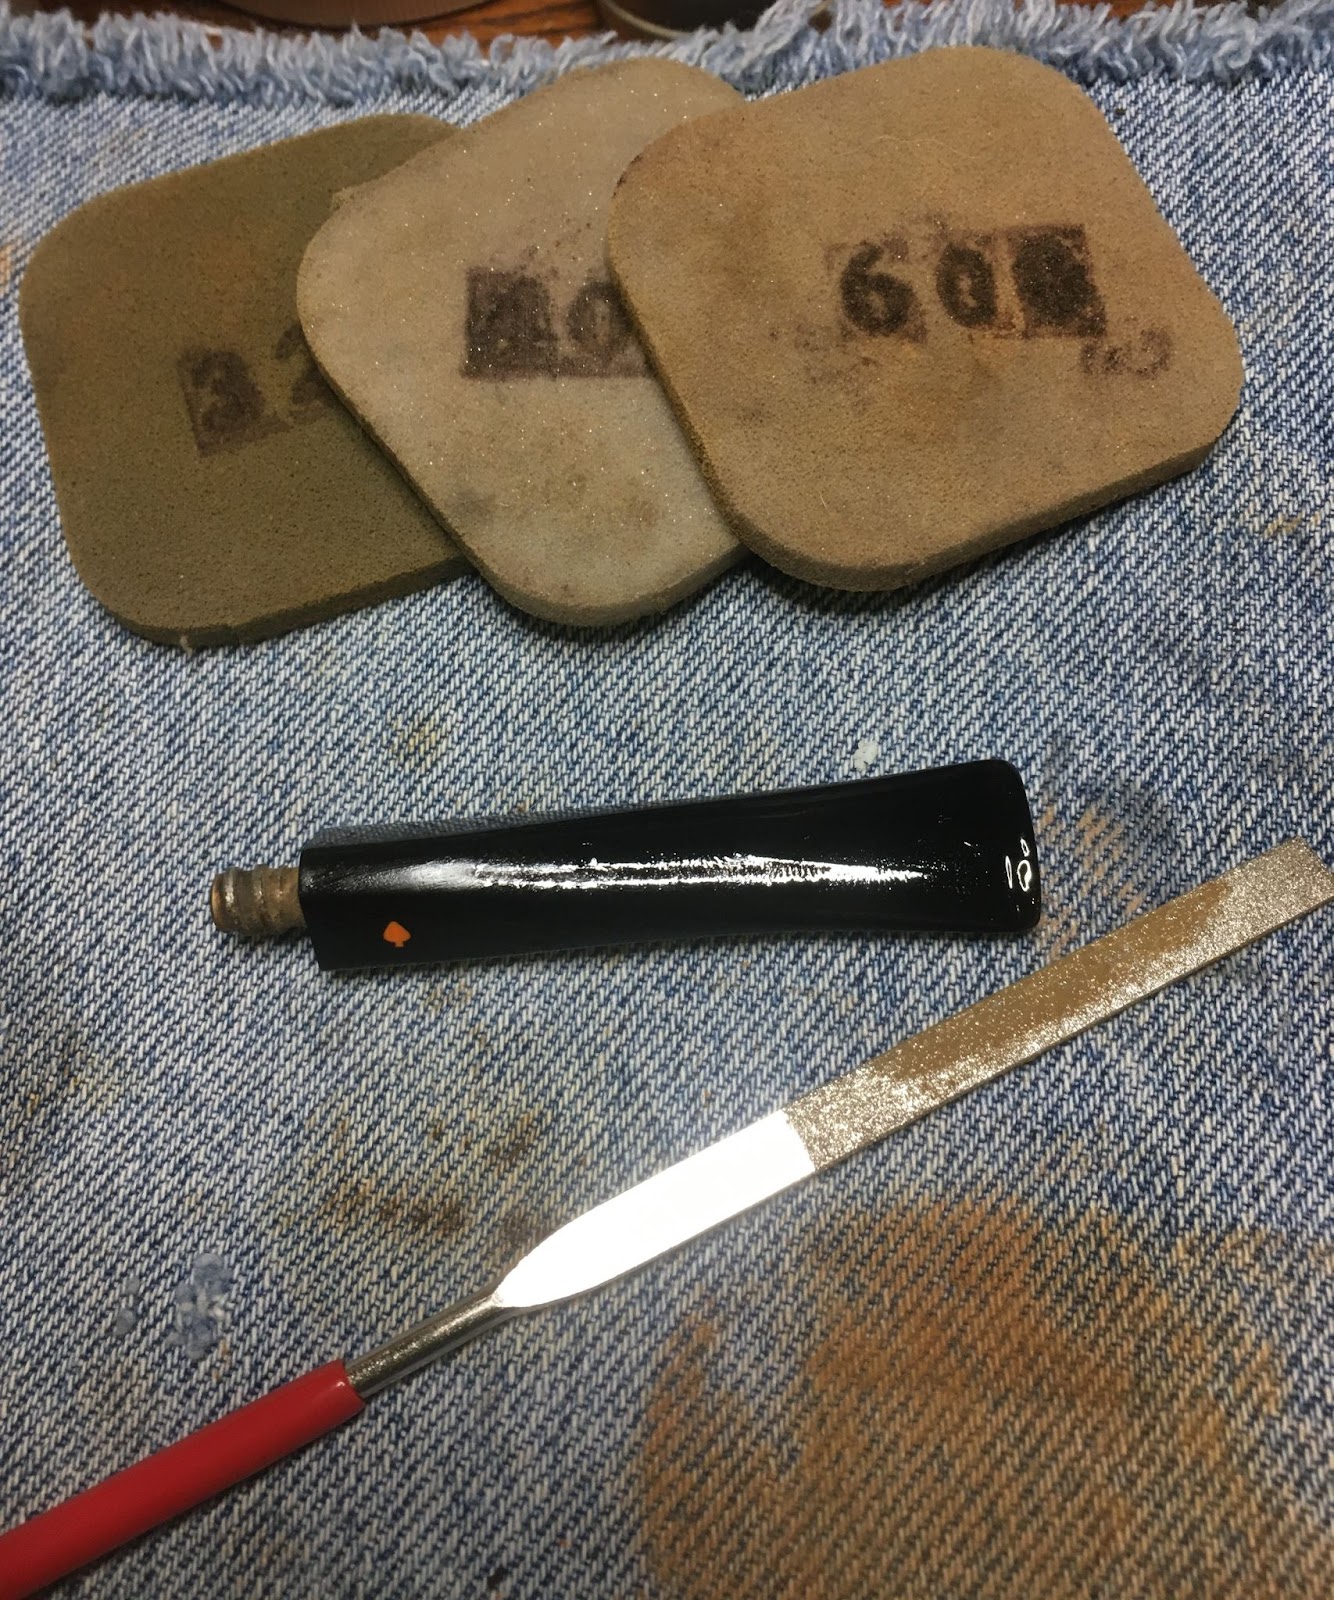
The restoration began with a clean denim piece on the work surface.
Reaming was the first task. The reaming crew was assembled: PipNet with #2 blade, Smokingpipes Low Country Reamer, General triangular scraper with tip ground to round, and 220 sandpaper wrapped around a wood dowel.

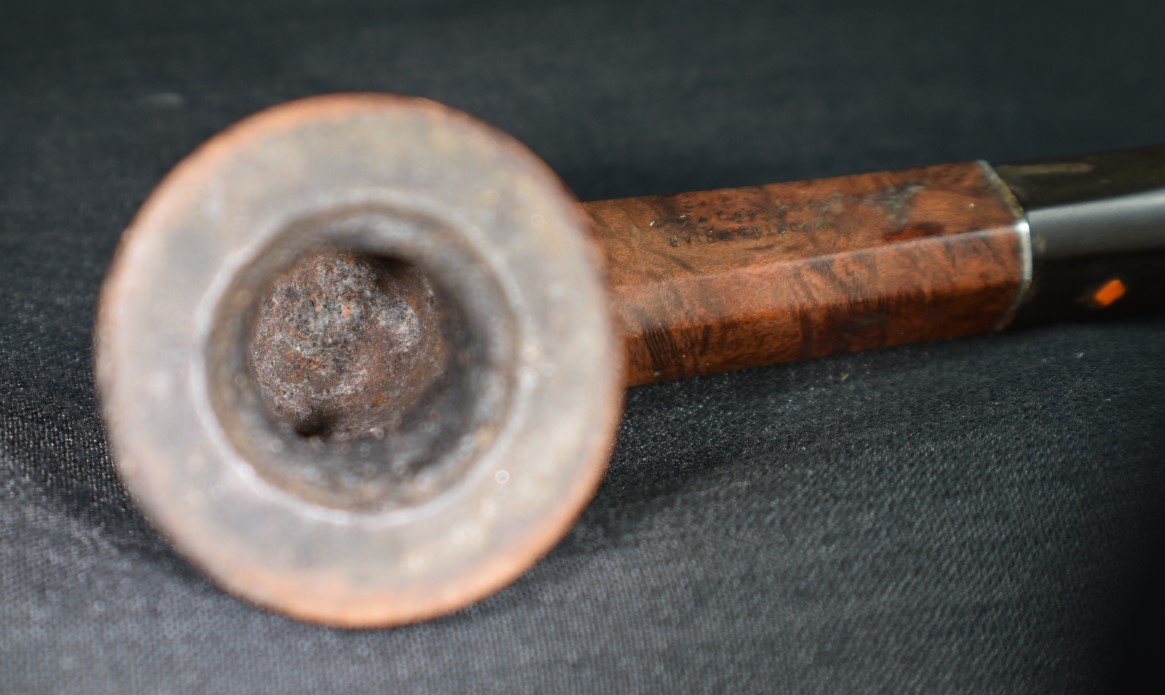
The reaming was uneventful and the sanding unveiled the tobacco chamber free of any heat damage.

The rim was moistened with saliva and scraped with a sharp pocket knife.

The stummel was then taken to the sink where it received a scrubbing with a medium stiff toothbrush and undiluted Murphy’s Oil Soap. The soap was rinsed with warm water and the stummel dried with a cotton hand towel. Upon returning to the workbench, I wiped the stummel with a make-up pad dipped in 95% ethyl alcohol.

Next the stummel was sanded with the 320 and 400 grit sanding sponges to find any hidden spot to fill or to dig out existing fills which needed to be replaced. Care was taken to avoid sanding the stampings. A few pits were discovered and one large gouge on the front of the stummel was picked of it’s original fill material.

The stummel was then topped to remove some of the damage from careless dottle knocking. I know this sounds like a fun sport but let me assure you both Indigo Bunting and dottle knocking are far from fun leisure activities. One is a lovely little bird and the other leaves rim scars that give pipe restorers nightmares.


(https://www.audubon.org/field-guide/bird/indigo-bunting)
The topping was done on a counter with a piece of 220 sandpaper laid flat. This was followed by sanding with 400 sandpaper.

The results of the topping are shown below.

Next the shank airway was cleaned. The airway was scraped with a dental scraper to remove the dry crumbly tars.

After the initial scraping, I poured approximately 3-4 ml of the alcohol into the chamber and allowed it to flow into the shank. I used a nylon shank shank brush to scrub the airway with the alcohol. The alcohol was then poured out into a medicine cup. Cotton swabs and folded over bristle pipe cleaners were then dipped in 95% ethyl alcohol and used to scrub the airway.

This alcohol scrubbing was repeated numerous times, with scraping and scrubbing with the cotton swabs and folded pipe cleaners.

Eventually the airway was mostly clean. I decided to give the stummel an overnight alcohol and cotton soaking. Cotton balls were stuffed into the airway and tobacco chamber then saturated with 95% ethyl alcohol.

The stummel was set so that the alcohol would not pour from either end. Evaporation would draw the tars from the briar ind into the cotton.

While the alcohol was doing what alcohol does, I started working on the stem. The button was reshaped with a flat needle file to give it more definition then the stem was sanded with the 320-600 sanding sponges. The stem was wiped with a heavy coat of mineral oil and allowed to sit overnight.
The next day the airway of the stem was cleaned using bristle pipe cleaners dipped in 95% ethyl alcohol. The screw-in tenon was cleaned with 0000 steel wool dipped in the alcohol.

The alcohol in the stummel had done a fine job at moving the tars and smoking residue from the briar into the cotton.


Below are the cotton pieces removed from the stummel. They were dry to the touch as the alcohol had evaporated overnight.

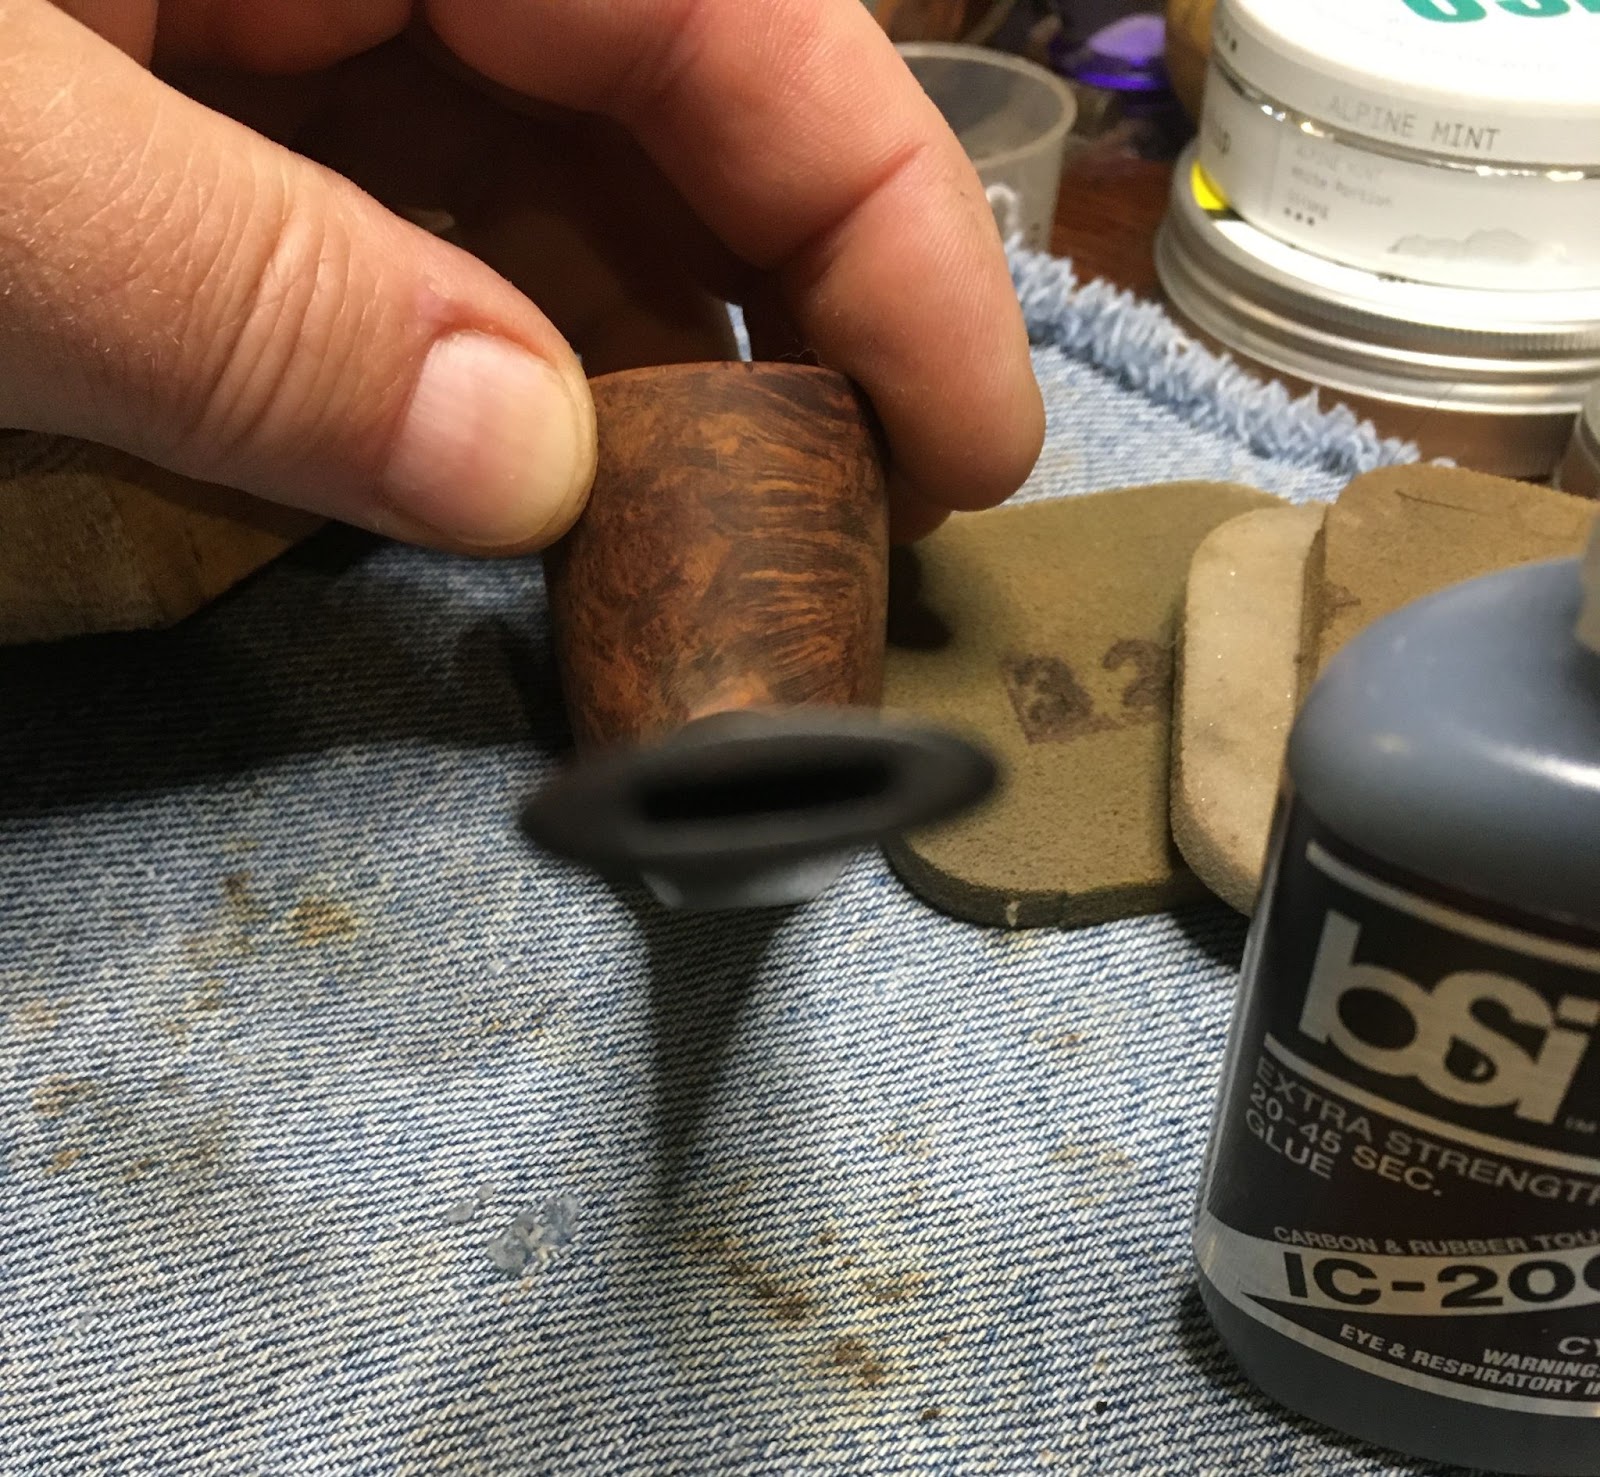
The stem did not line-up correctly. It was approximately 3-5 degrees over-clocked. This could be remedied two different ways. One was to heat the aluminum screw-in tenon to the point where the stem material was partially melted then rotate the aluminum back a few degrees. The second was to “paint” the stem face of the tenon with a thin even coat of black cyanoacrylate (CA, super glue). Allow it to cure then sand it smooth. This additional material would lengthen the stem and shorten the screw-in distance, moving the alignment counter clockwise. I chose the latter and painted the stem with black CA.

I used an emery board to sand the new tenon face smooth.

The stem lined up perfectly with the shank’s mortise aluminum.

The stem was slightly underclocked when all finished. This is how many manufacturers finish the fit of the stems when they leave the production line.
Next I dealt with the fills. Brown CA and briar dust were used to fill the larger gouges and pits.

The CA was applied into the depression.

A pinch of briar dust was pressed into the wet CA. The briar dust sets up almost immediately with the CA.

The resulting fill was then filed with a flat needle file.

A very light bead of thin CA was applied to the surface of the fill.

The wet thin CA was then quickly sanded with the 400 sanding sponge. This same technique was used to fill the smaller pits, a small drop of CA, followed immediately with sanding. The sanding provides the briar dust for the fill. It fills in the depression and the CA bonds with the dust to make a nice fill.


The gouge at the front of the stummel was filled using the brown CA with the pressed briar dust. This one took a couple of pinches and pressing to complete the fill.


Once all the fills were done the stummel was sanded with the 400 grit sanding sponge. I wanted to sand the outer surface from the stummel. My hope was that I could remove some of the old original stain achieving a contrast stain appearance. This proved unsuccessful. The original stain had penetrated the briar very deeply. I then thought that I might be able to lighten the whole stummel using oxalic acid. Besides, I wanted more practice using the oxalic acid. I Made a saturated oxalic acid solution a couple of restorations ago and stored it in a glass canning jar. I applied this solution with a cotton swab. As the stummel absorbed the solution and as it dried, I applied additional solution. I wanted the whole stummel well coated. I allowed it to sit with the oxalic acid for 45 minutes. After 45 minutes I took the stummel to the sink where I rinsed it with warm water. I dipped a toothbrush into baking soda and scrubbed the stummel with the baking soda and water. I figured that this would neutralize any oxalic acid that remained on the stummel. The stummel was further rinsed with warm water and dried with a cotton hand towel.

After a few minutes of drying the stummel did appear much lighter and the grain was more visible.

The stamps were taped over with painters tape and the stummel was sanded with a series of sanding sponges from 1000-3500. Between each sponge the stemmel was wiped with a make-up pad dipped in alcohol.

The stummel was then micro-meshed with 4000-12000 micro-mesh pads. Between each sponge the stemmel was wiped with a make-up pad dipped in alcohol.

The stummel was then coated with a liberal layer of Before and After Restoration Balm.

While the Restoration Balm was working its magic, I worked on sanding the sem. The orange logo was raised slightly above the surrounding stem. I used the topping counter with 400 grit sandpaper to sand the stem logo flush then used the sequence of sanding sponges 600-3500. Between each sponge I dipped my finger into the mineral oil and rubbed it over the stem. I then wiped off the excess oil with a paper towel.

After the sanding sponges I used the 4000-12000 micro-mesh pads. Between each pad I applied a small drop of Obsidian Oil to the stem, rubbed it in and wiped with a paper towel.

The Restoration balm worked it’s magic on the briar returning the luster. The excess balm was wiped off using the inside of a cotton athletic sock.

The pipe was taken to the buffer where it received several coats of carnauba wax.
Overall, I am very happy with this restoration. The briar lightened up nicely with the scrubbing, sanding and oxalic acid treatment. All of these combined to return the wood to more the way I imagine it looked fresh from the factory. The stem polished up nicely as well, showing off the glossy ebony. The orange spade provides a nice accent and fits in well with the color of the briar. The scars on the bowl are present and show that this pipe had been used and was probably a favorite of someone’s. I do regret that the stinger is missing and wish that I had a replacement, perhaps someday…
The dimensions of this Westbrook Dr Grabow Triangle Dublin are:
- Length: 5.29 in./ 134.37 mm.
- Weight: 1.01 oz./ 29.00 g.
- Bowl Height: 1.68 in./ 42.67 mm.
- Chamber Depth: 1.42 in./ 36.00 mm.
- Chamber Diameter: .70 in./ 17.78 mm.
- Outside Diameter: 1.29 in./ 32.77 mm.
I do hope that you have found something here useful to your own pipe care, maintenance or restorations. If you like this sort of thing, please click the like and subscribe buttons. Thank you for reading the ramblings of an old pipe lover.
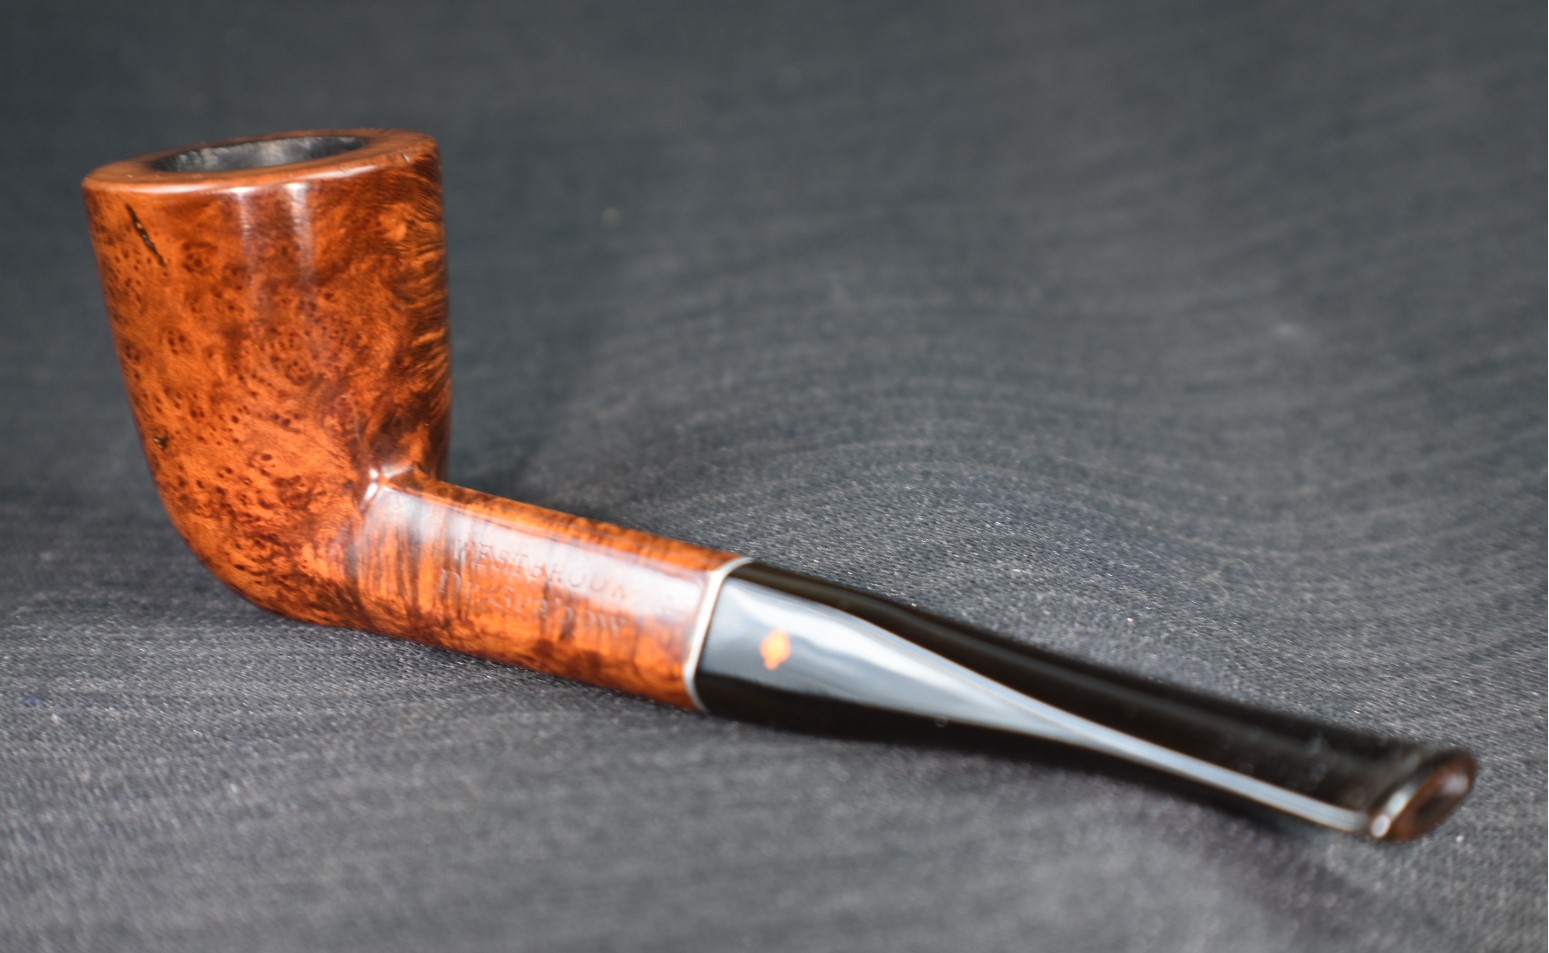
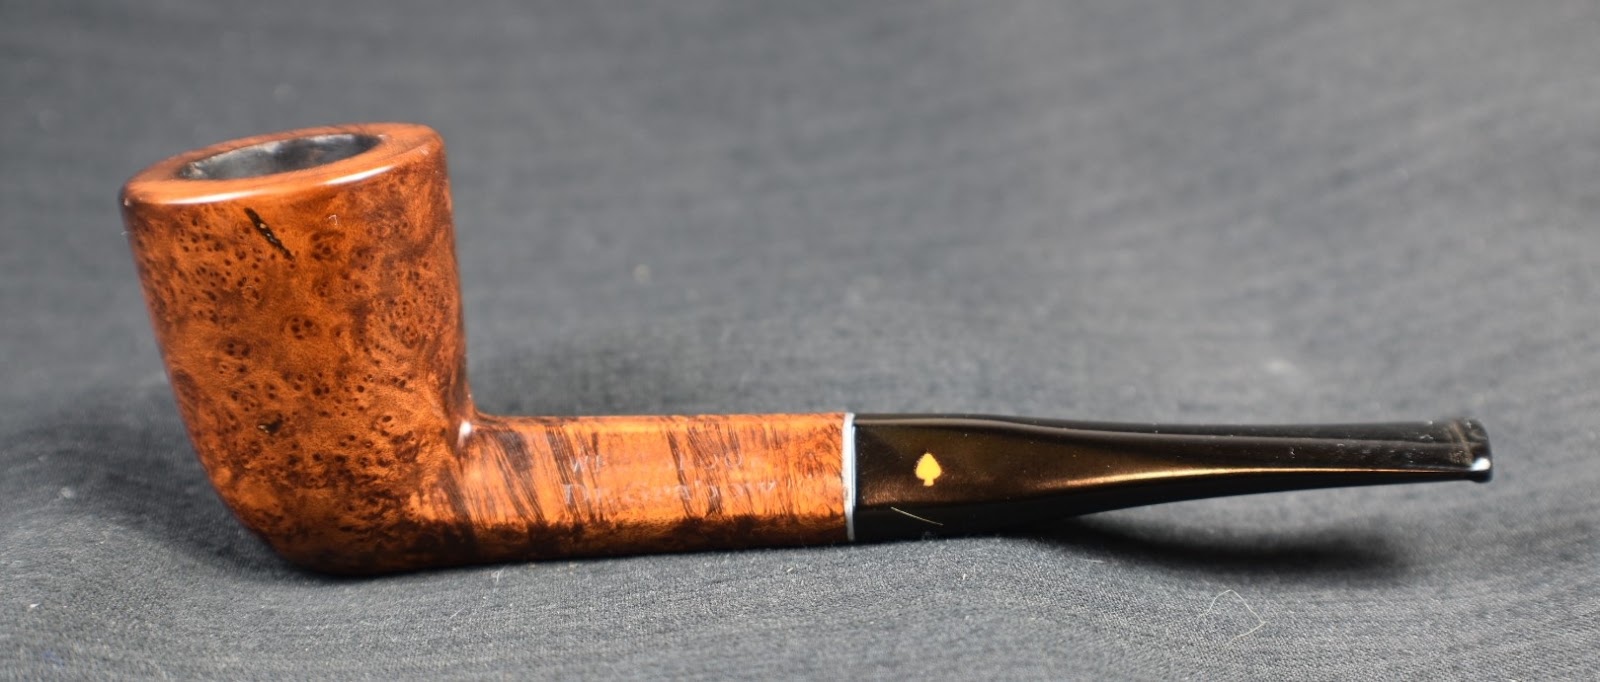
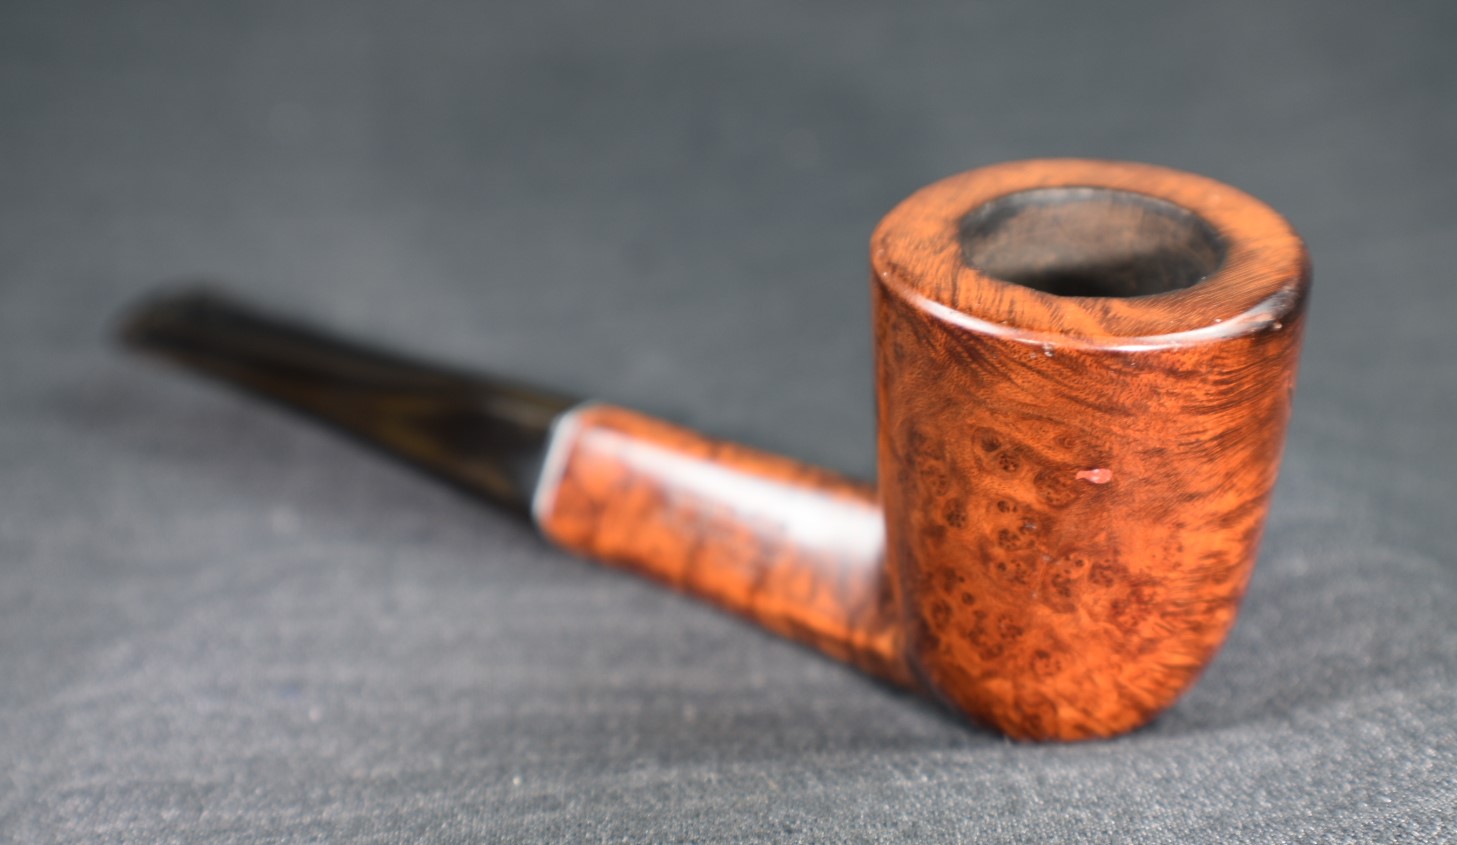
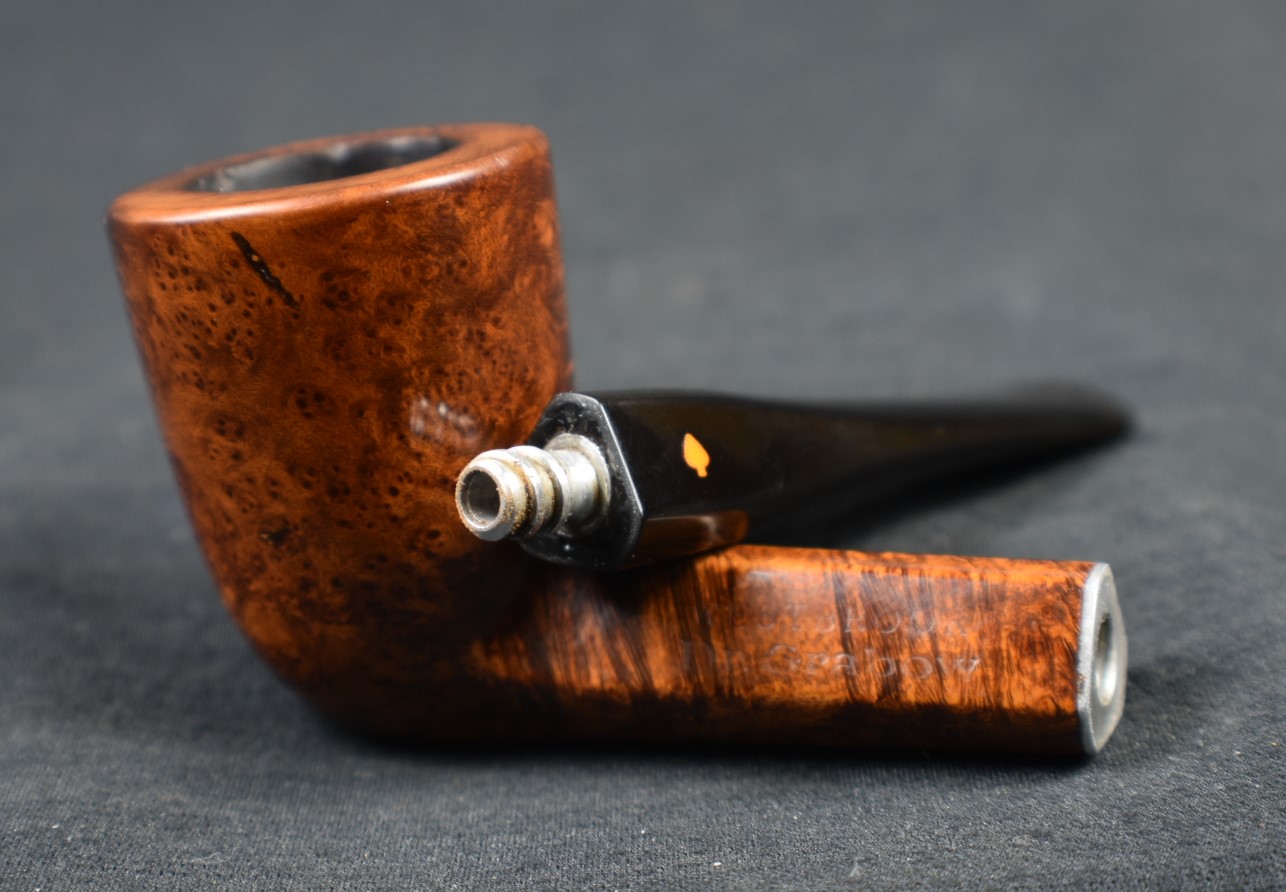
Below are some photos of the finished Westbrook Dr Grabow Triangle Dublin.


One response to “A Dr Grabow Westbrook Triangle Dublin Restoration”
[…] A Dr Grabow Westbrook Triangle Dublin Restoration […]
LikeLike